How to Calibrate Touch Screens on Windows
Learn how to calibrate touch screens on Windows computers for use with Soundgrid applications such as eMotion LV1, SuperRack and SoundGrid Studio.
-
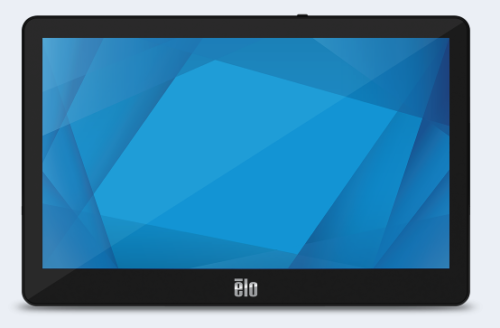
- Connect each touch screen to your computer using two cables:
- HDMI/DisplayPort cable
- USB cable
- Connect each touch screen to your computer using two cables:
-
- Open the Windows Control Panel (Win+X to find) and access Tablet PC Settings
Please note: If your computer does not recognize the touch screen monitors for any reason, the Tablet PC settings will not be visible to you within the Windows control panel.
- Open the Windows Control Panel (Win+X to find) and access Tablet PC Settings
-
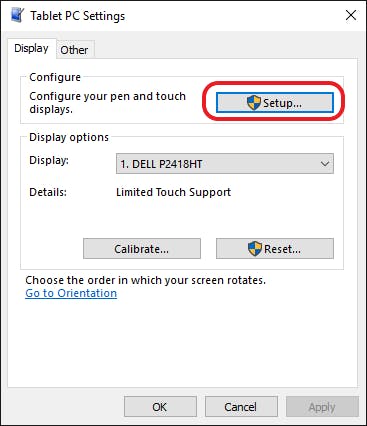
- Under Configure, click on Setup:

- Under Configure, click on Setup:
-
- Tap the relevant screen to identify it as a touch screen and press Enter when instructed. Repeat this process for any additional screens.

- Tap the relevant screen to identify it as a touch screen and press Enter when instructed. Repeat this process for any additional screens.
-
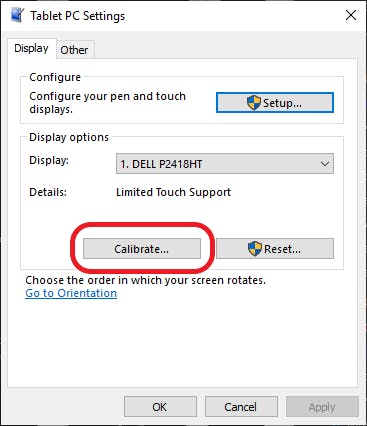
- Under Display options, choose the touch screen that you wish to calibrate, and press Calibrate.

- Under Display options, choose the touch screen that you wish to calibrate, and press Calibrate.
-
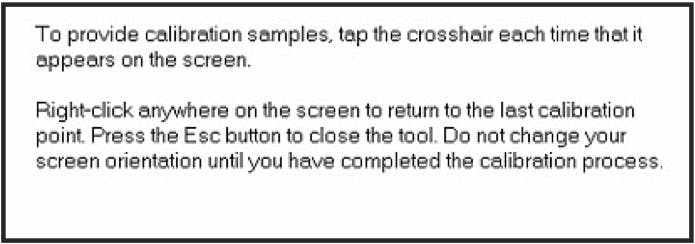
- In the white screen, tap the crosshair each time that it appears on screen. Once done, you will be prompted to save the settings, click Yes.

- In the white screen, tap the crosshair each time that it appears on screen. Once done, you will be prompted to save the settings, click Yes.
- Repeat this process for any additional touch screens in the setup.
Please note that some manufacturers may require additional drivers for touch operation. For more information, refer to the relevant manufacturer’s documentation.

