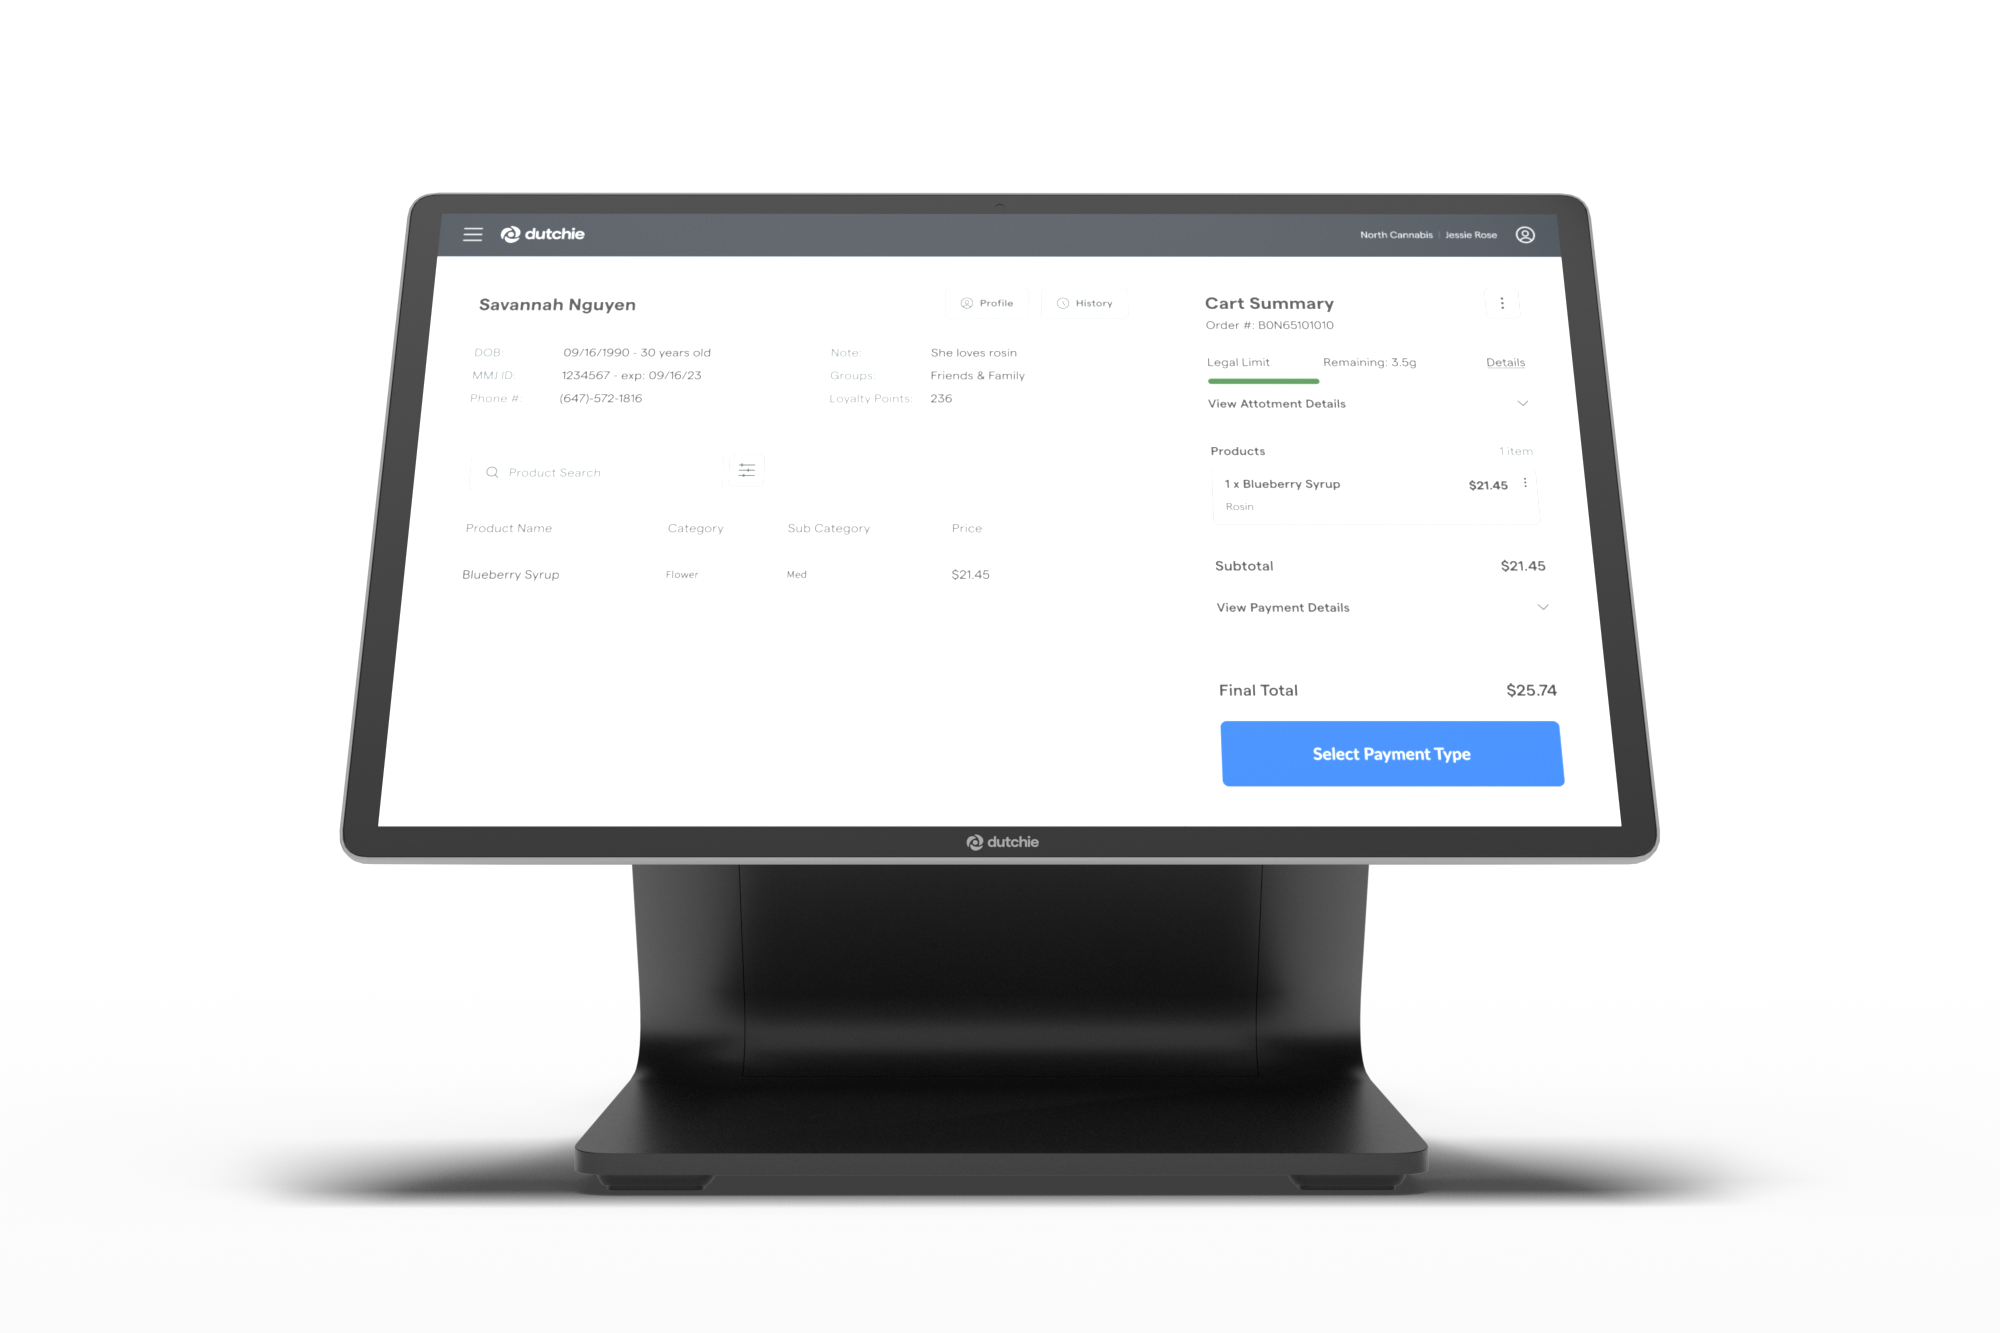
Scale configuration for the Dutchie Register terminal
Scale configuration for the Dutchie Register terminal, This article applies to Dutchie POS.
This article only applies to Dutchie-branded Register terminal devices that were sold by Dutchie, like the one pictured below.

To connect an A&D scale to any other device, refer instead to Set up the Dutchie POS web scale integration.
Complete the following steps to configure your A&D FX-300iN scale for use with the Dutchie Register terminal scale integration.
- Set the scale mode to e=d and attach the corresponding label
- Configure transmission rate
- Configure data parity
- Configure the scale to transmit weight readings to the Register terminal
- Verify additional settings
Set the scale mode to e=d and attach the corresponding label
Complete these steps before having your scale inspected and certified. Once the scale is certified, the back panel will be locked and you will not be able to unlock it.
- Unscrew the back panel.
- Behind the back panel is a button next to the two power cells. Press and hold this button and the MODE button while also pressing ON/OFF to power on the scale.
- Press RE-ZERO or TARE repeatedly until the display reads ntEP e d.
- Press PRINT to save this setting.
- Ensure that the e=d label is applied to the front of the scale before a visit from a field inspector.
- Turn the scale off and then on again.
Configure transmission rate
- Press and hold the SAMPLE button to enter the configuration menu. Release the button once the display changes to bASFnc.
- Press SAMPLE repeatedly until the display reads SiF.
- Press PRINT. The display will change to bPS, followed by a number.
- Press RE-ZERO or TARE repeatedly until the reading is bPS 4. This sets the scale’s transmission rate to 9600 bps.
- Press PRINT to save this setting.
- Turn the scale off and then on again.
Configure data parity
- Press and hold the SAMPLE button to enter the configuration menu. Release the button once the display changes to bASFnc.
- Press SAMPLE repeatedly until the display reads SiF.
- Press PRINT. The display will change to bPS, followed by a number.
- Press SAMPLE repeatedly until the display reads btPr.
- Press RE-ZERO or TARE repeatedly to select btPr 2. This configures the scale to 8 bits, non-parity.
- Press PRINT to save this setting.
- Turn the scale off and then on again.
Configure the scale to transmit weight readings to the Register terminal
- Press and hold the SAMPLE button to enter the configuration menu. Release the button once the display changes to bASFnc.
- Press SAMPLE repeatedly until the display reads dout.
- Press PRINT. The display will change to Prt, followed by a number.
- Press RE-ZERO or TARE repeatedly until the display reads Prt 3.
- Press PRINT to save this setting.
- Turn the scale off and then on again.
Verify additional settings
There are other settings on the scale that you may need to adjust.
- Press and hold the SAMPLE button to enter the configuration menu. Release the button once the display changes to bASFnc.
- Press SAMPLE repeatedly until the display reads SiF.
- Press PRINT. The display will change to bPS, followed by a number.
- Press SAMPLE repeatedly and confirm each of the following settings. Press RE-ZERO or TARE to change the setting(s) as needed and then press PRINT to save the setting:
- Set CrLF to 0
- Set tYPE to 1
- Set t-UP to 1
- Set ErCd to 0
- Turn the scale off and then on again.
What’s next?
Connect the scale to your Register terminal.


